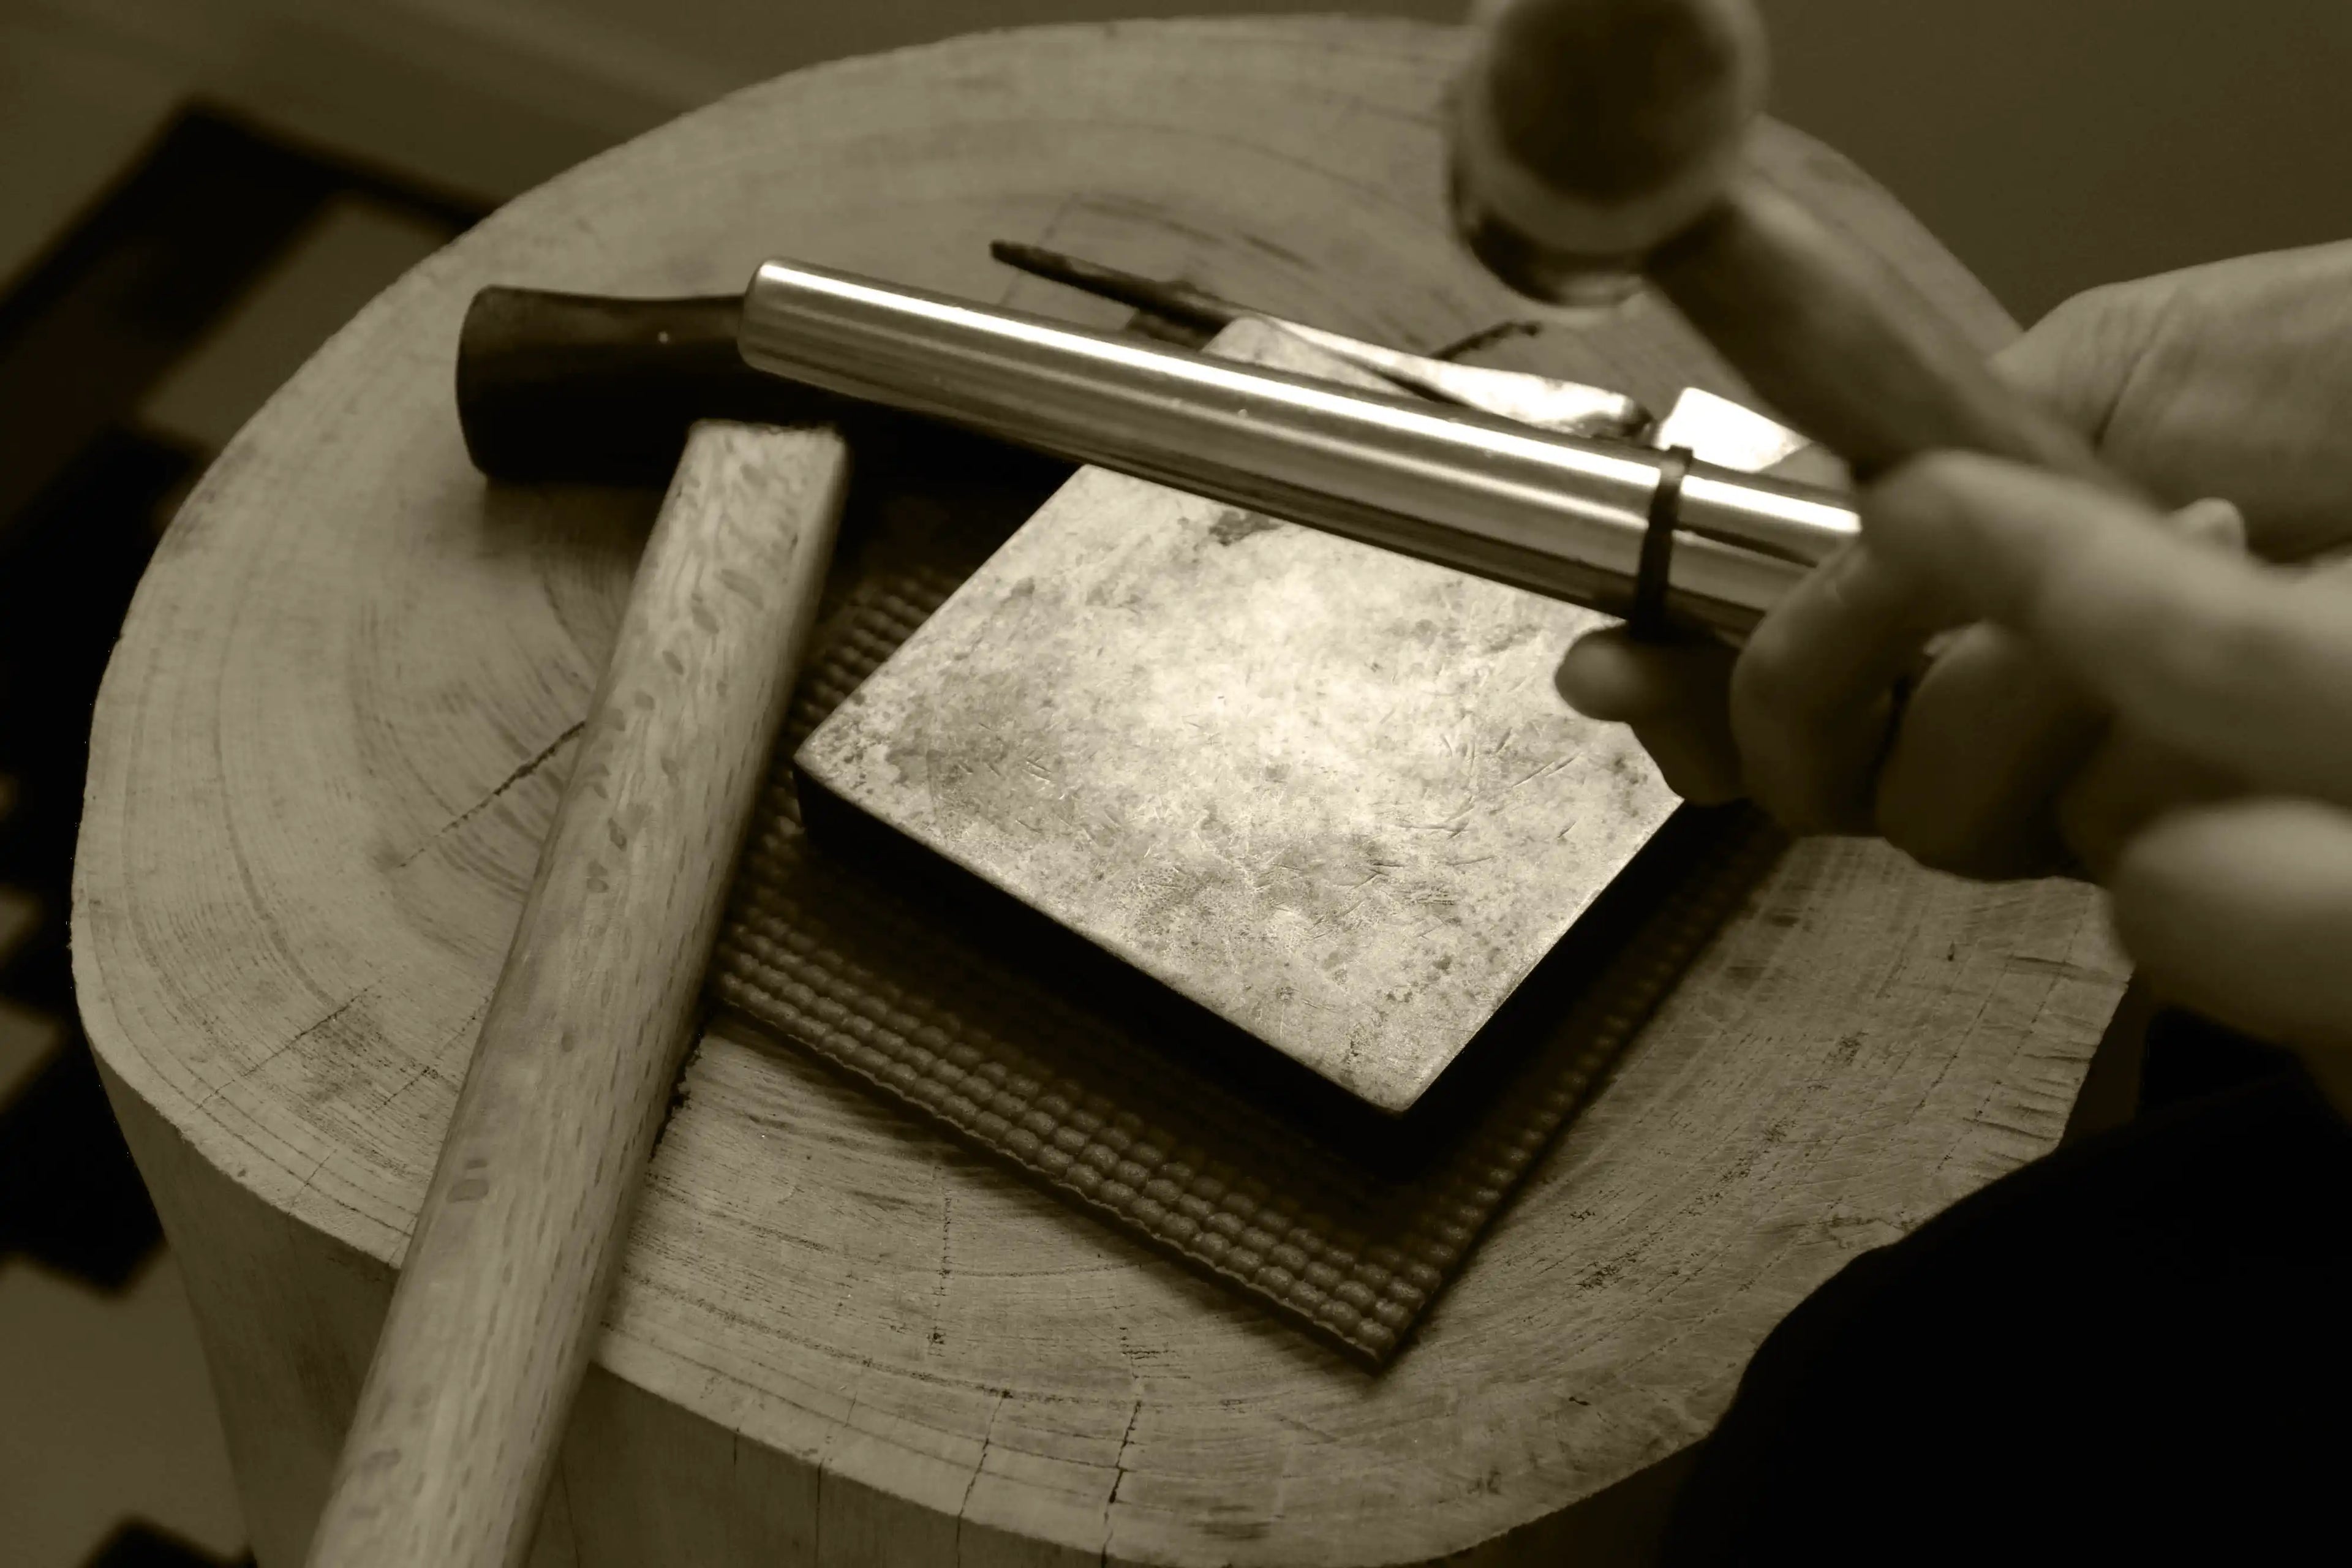
We're taking you behind-the-scenes of our jewelry studio in Tokyo. Here are the process of making wedding rings for A & N.
The Process
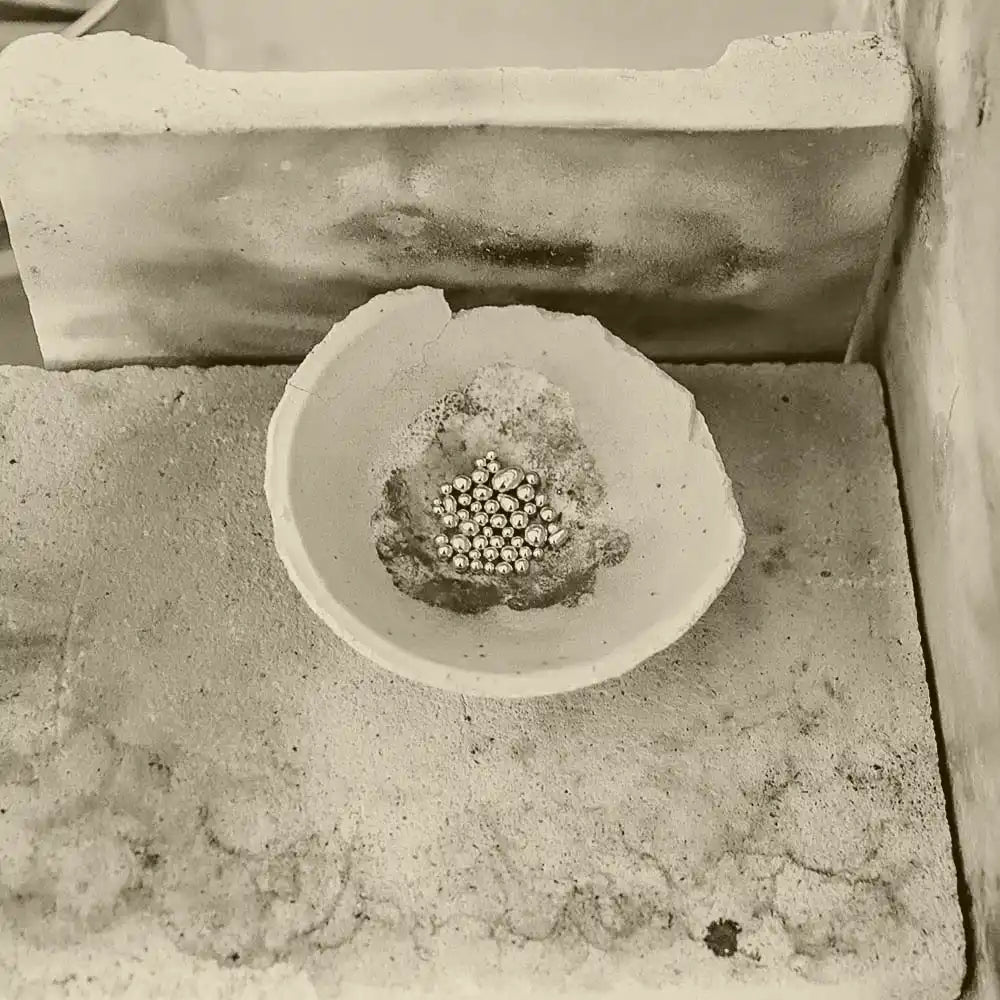
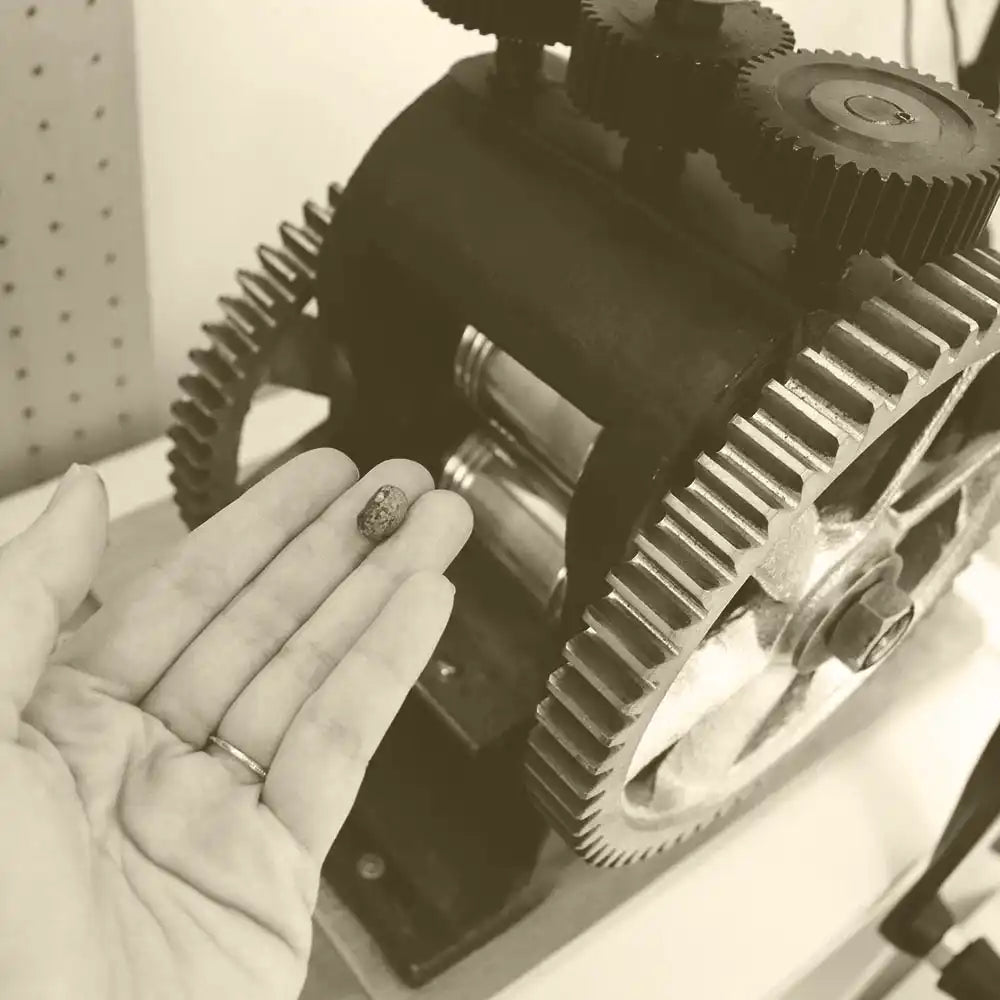
The very first step to make your jewelry was to melt gold grains into a nugget.
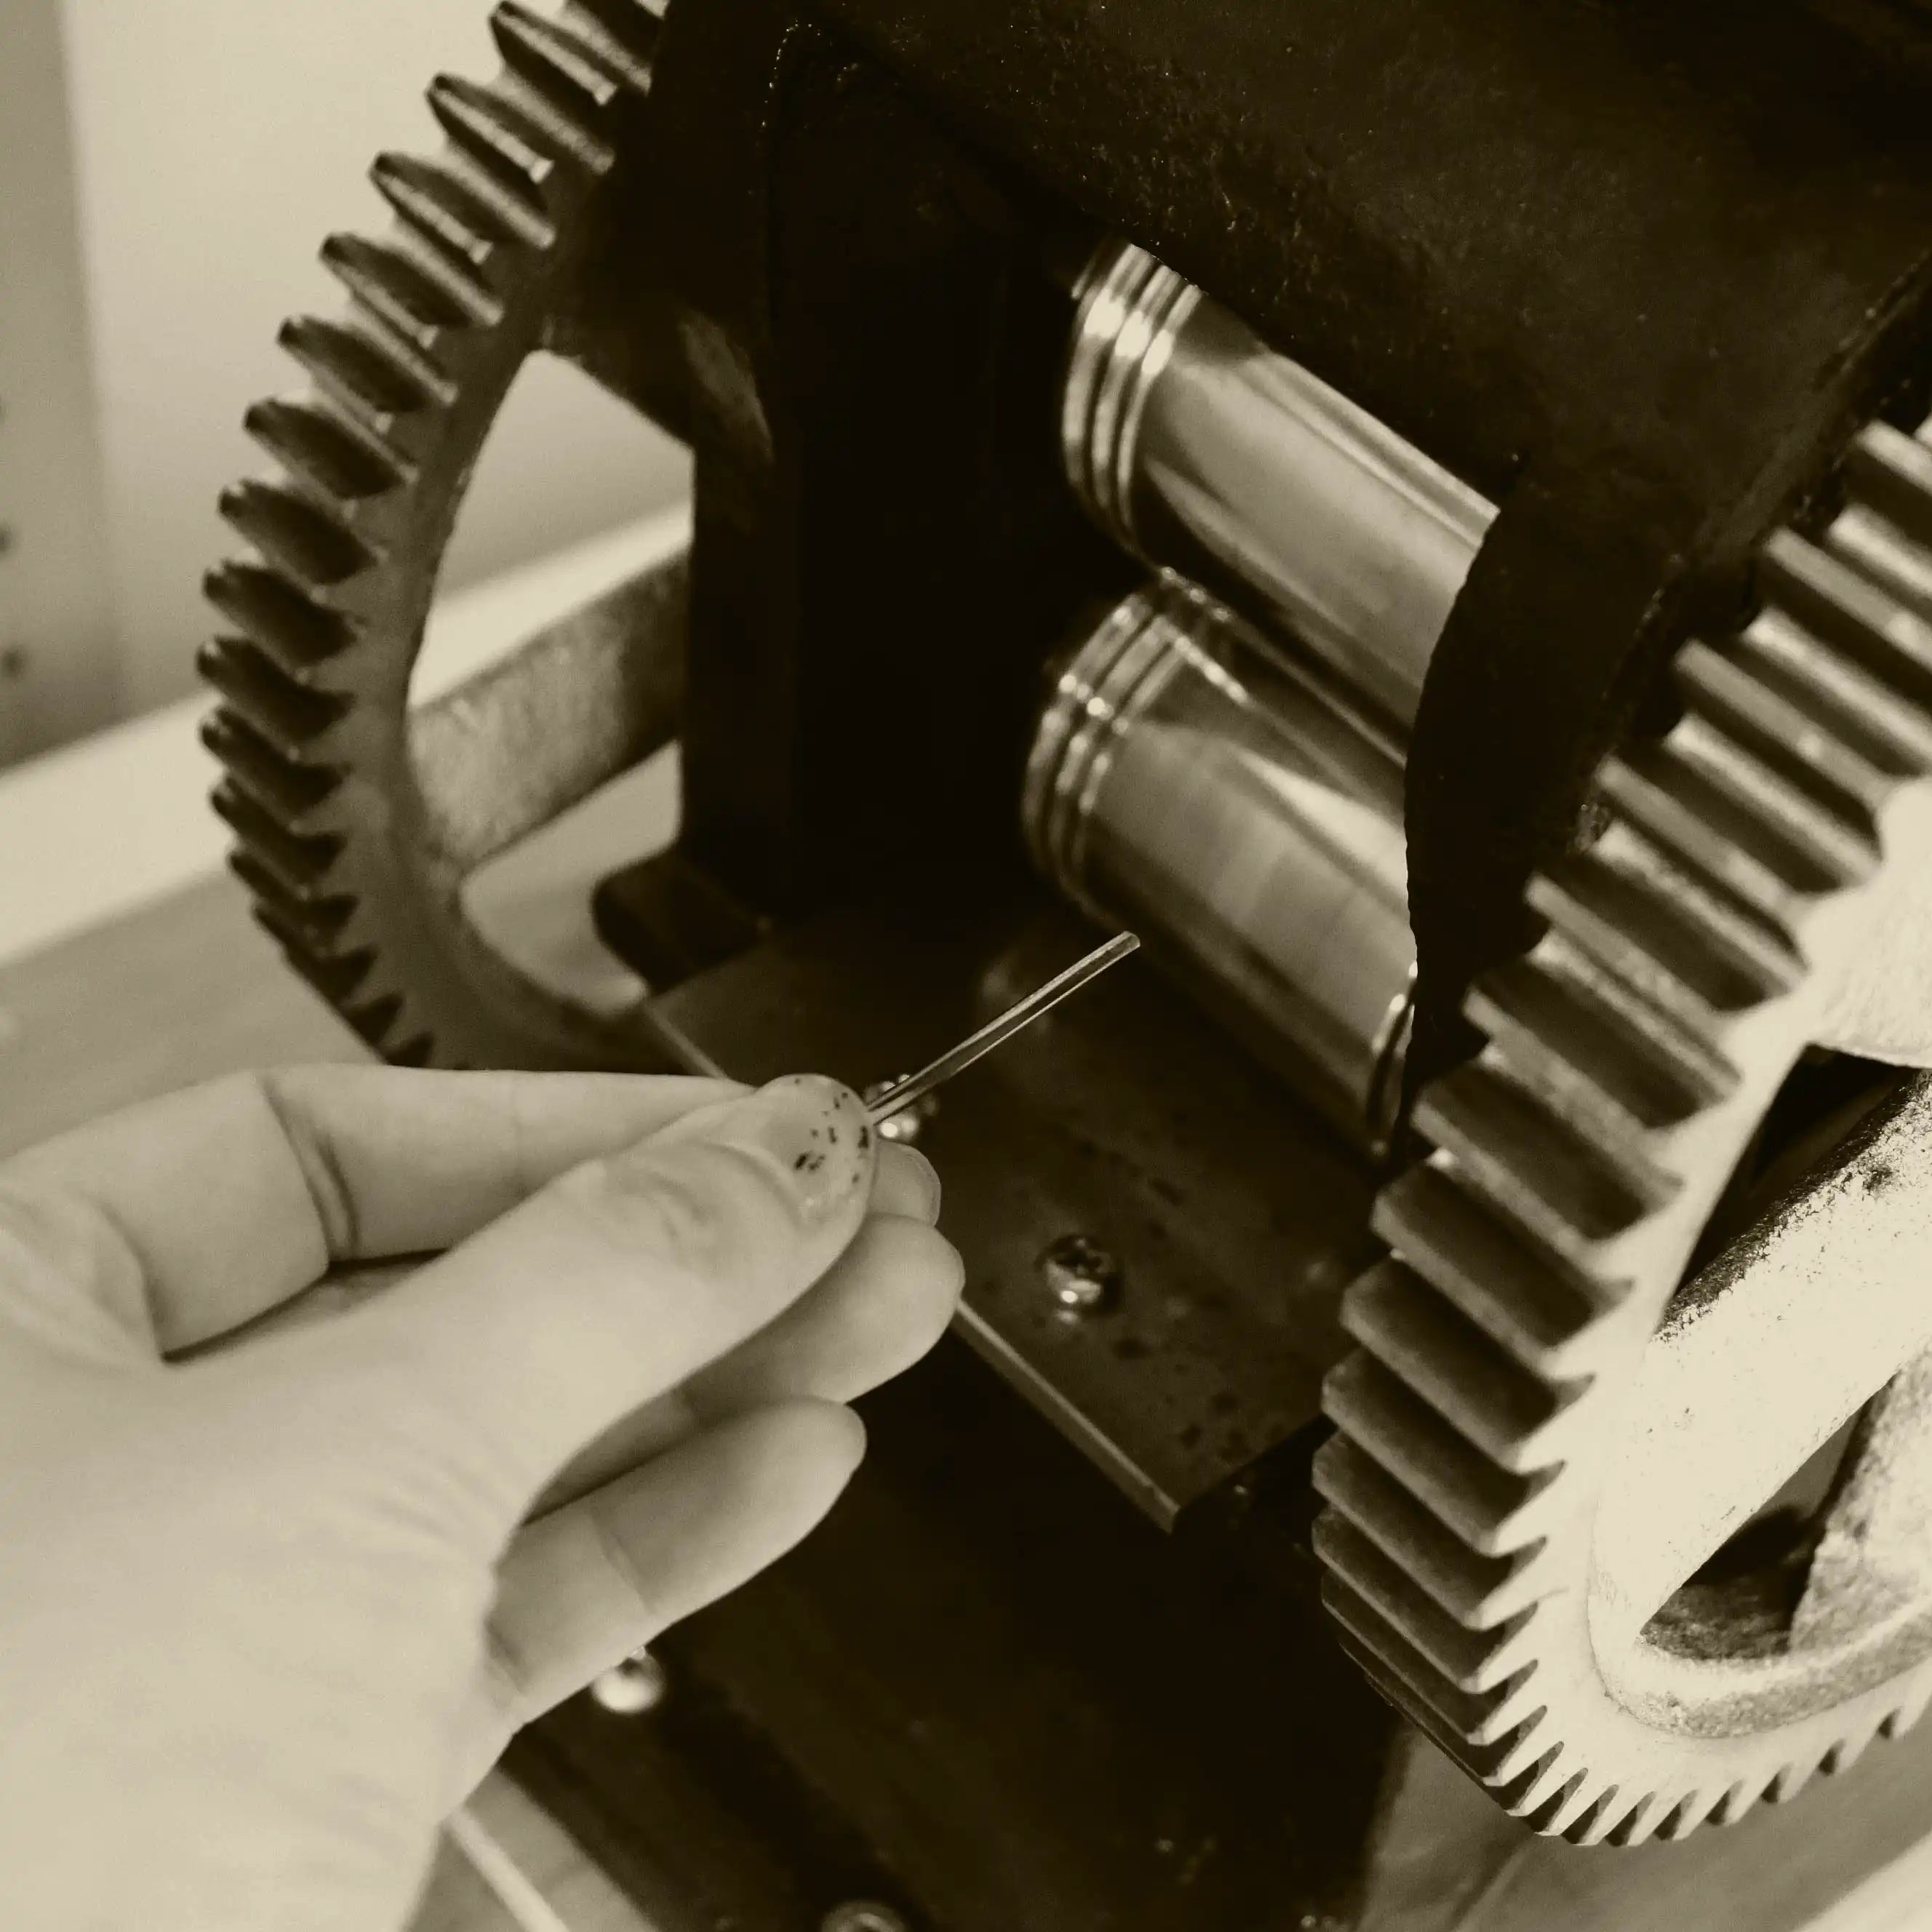
With the help of this rolling-mill we were able to turn the nugget into a wire effortlessly.
Annealing
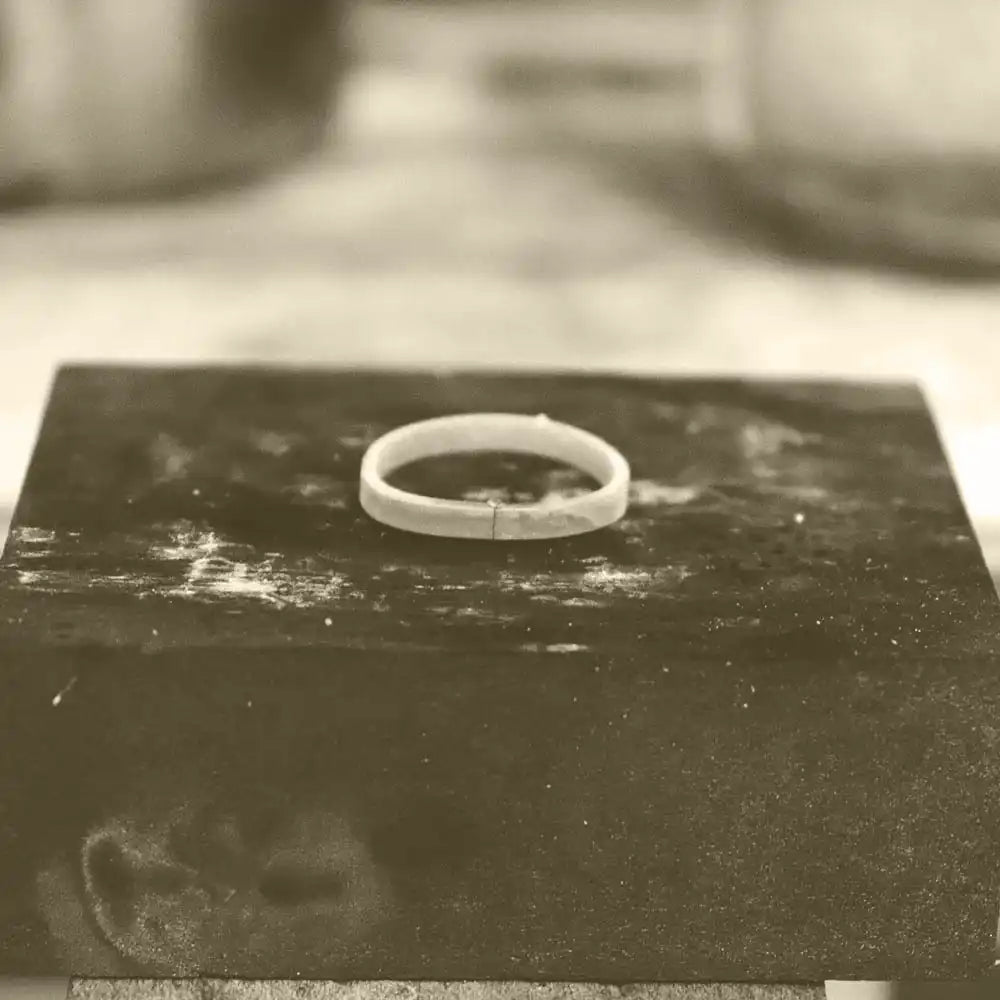
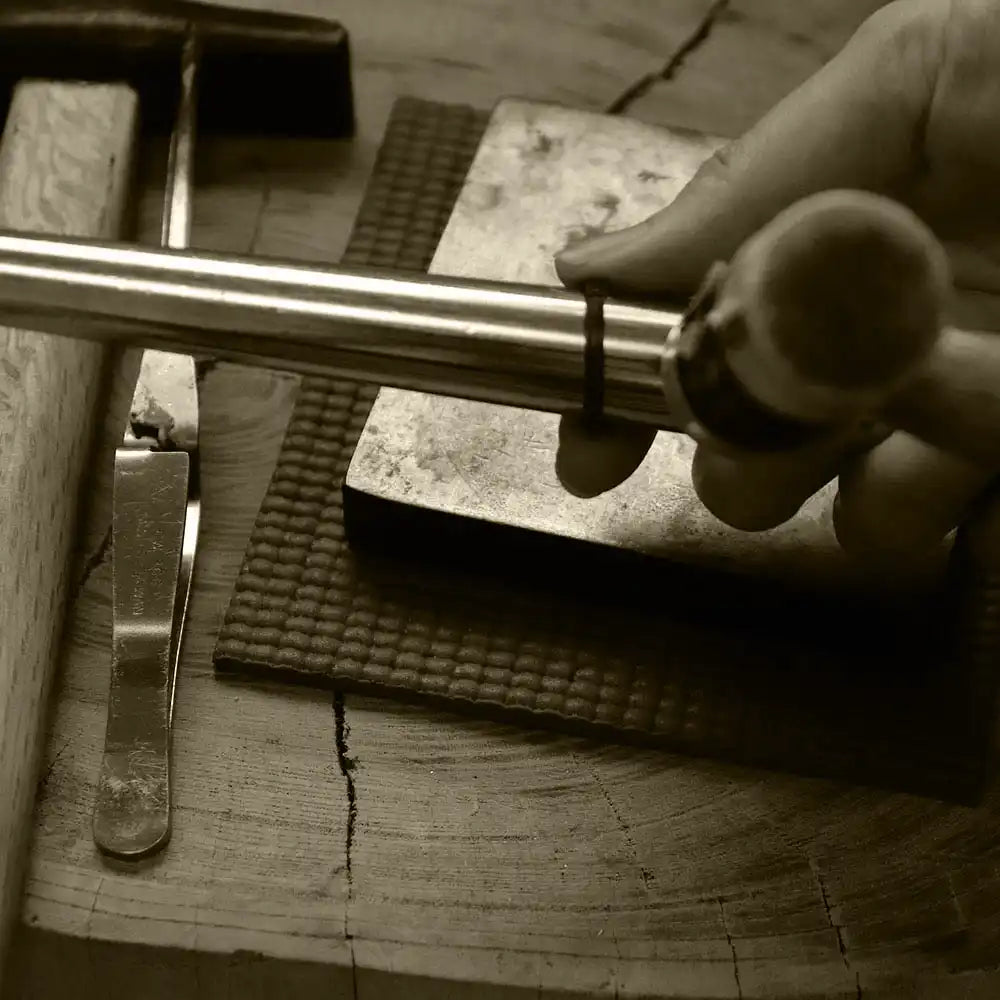
Then, we annealed the metal, so they are soft and easy to work with. We formed them into a ring shape by hammering.
After we got the size we wanted, we soldered the ring on the charcoal block.
Then, we pickled the ring in an eco-friendly solution.
Forming & Filing
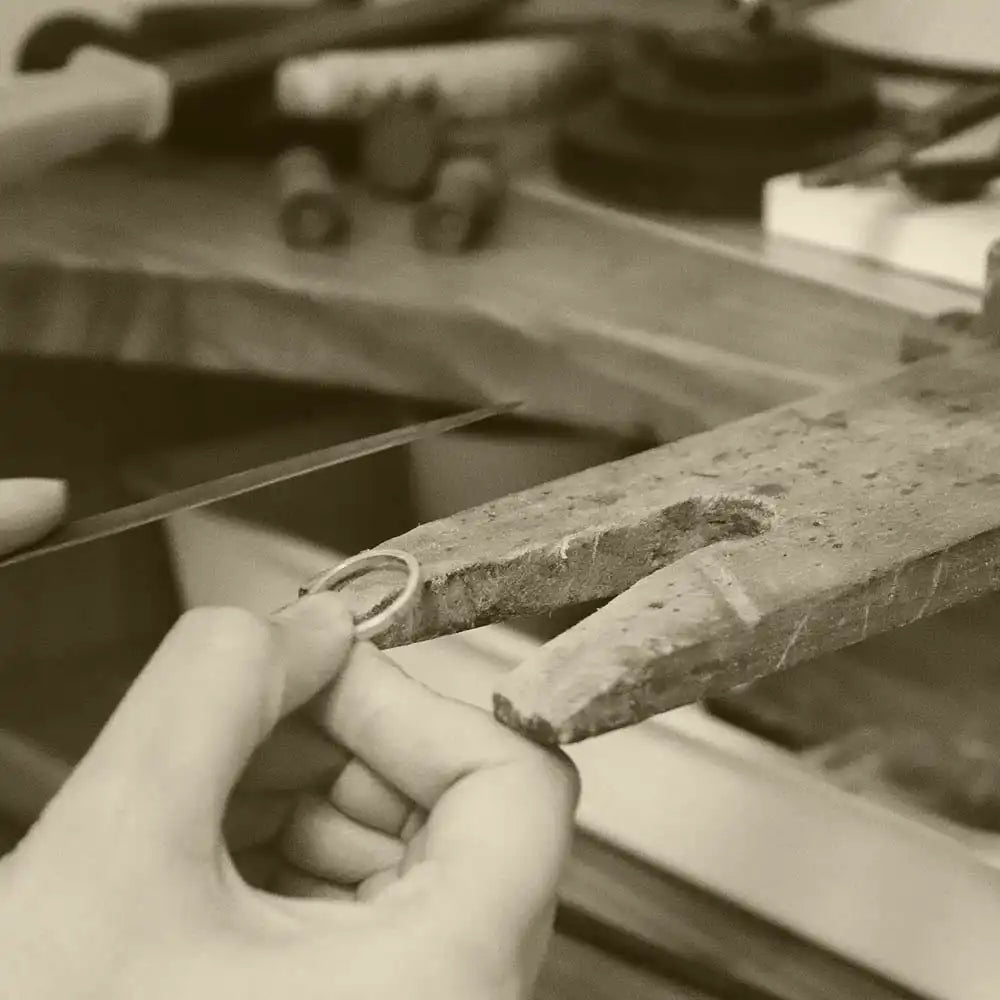
As for A’s ring, we needed to file the ring slightly thinner.
This process had to be done precisely by hands and took several hours.
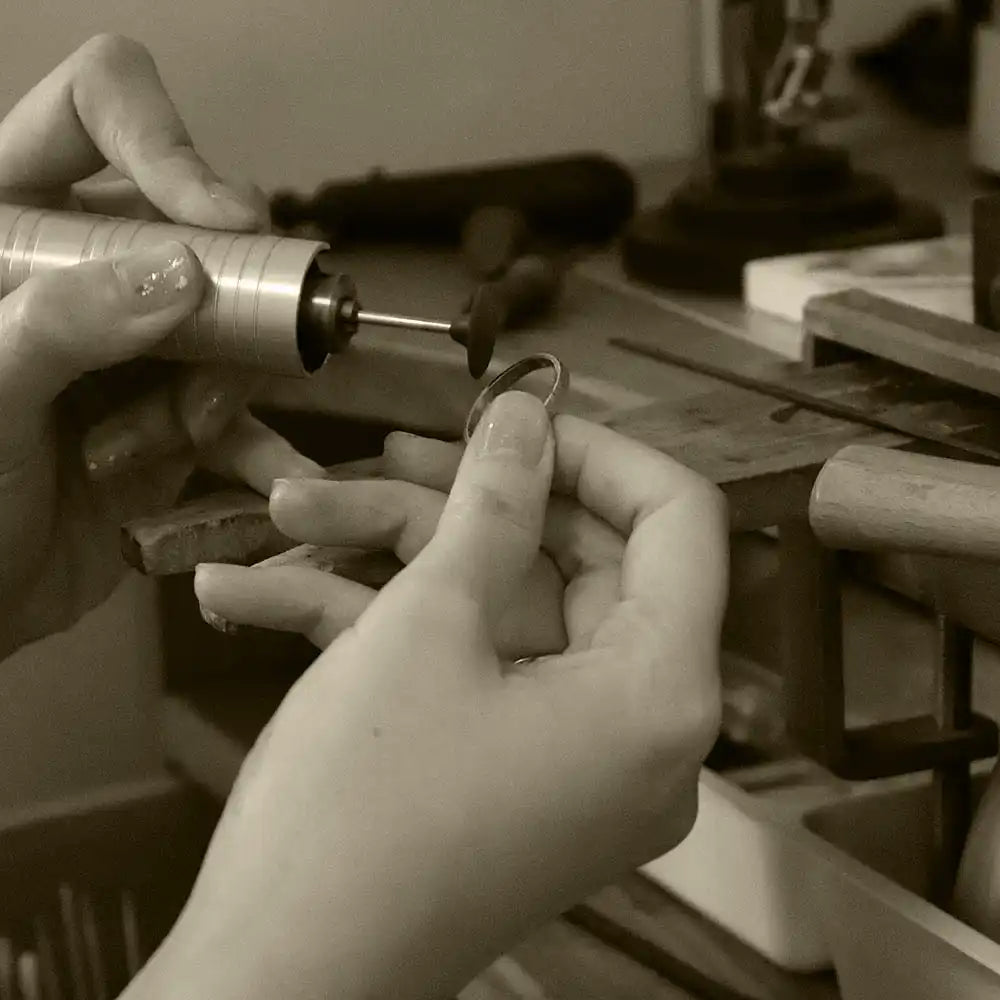
For a shiny finish, we polished the rings using the flex shaft; it is one of our favorite tools :)
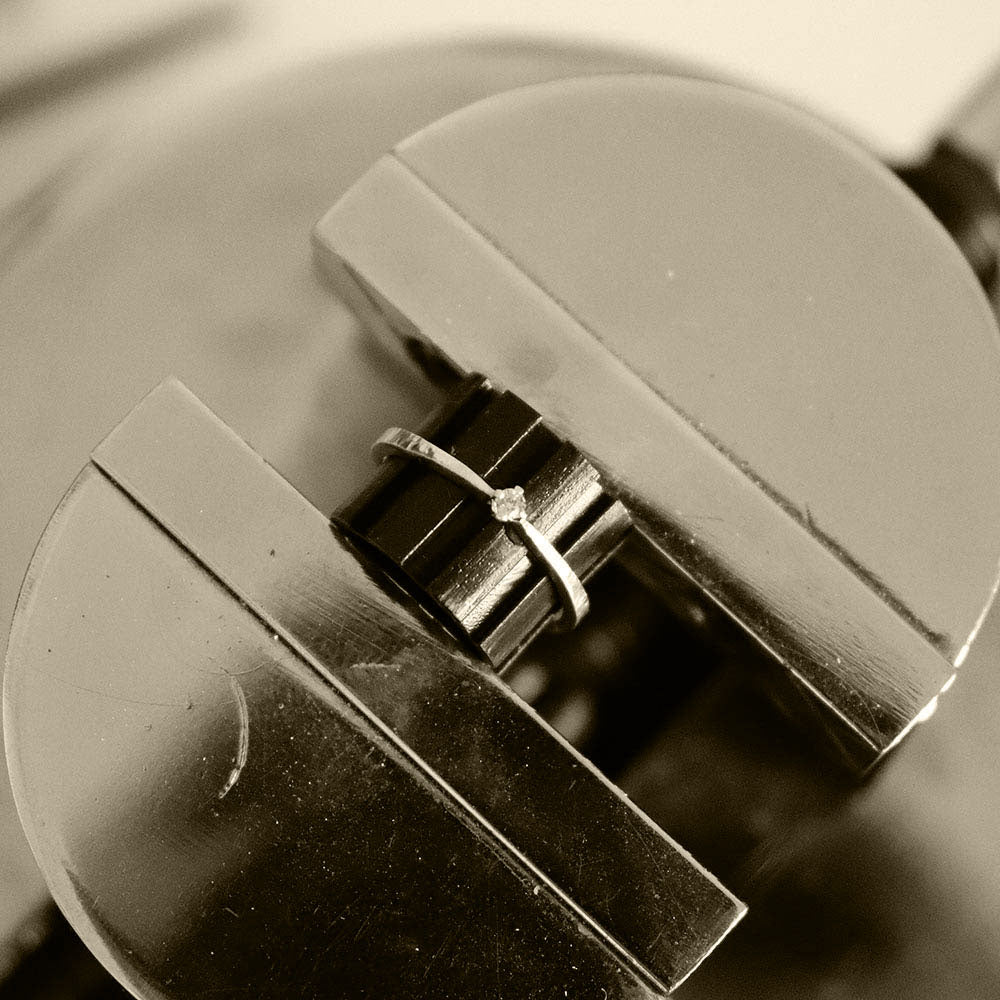
After the ring became shiny and clean, the ring was now ready to be set with a diamond.
-
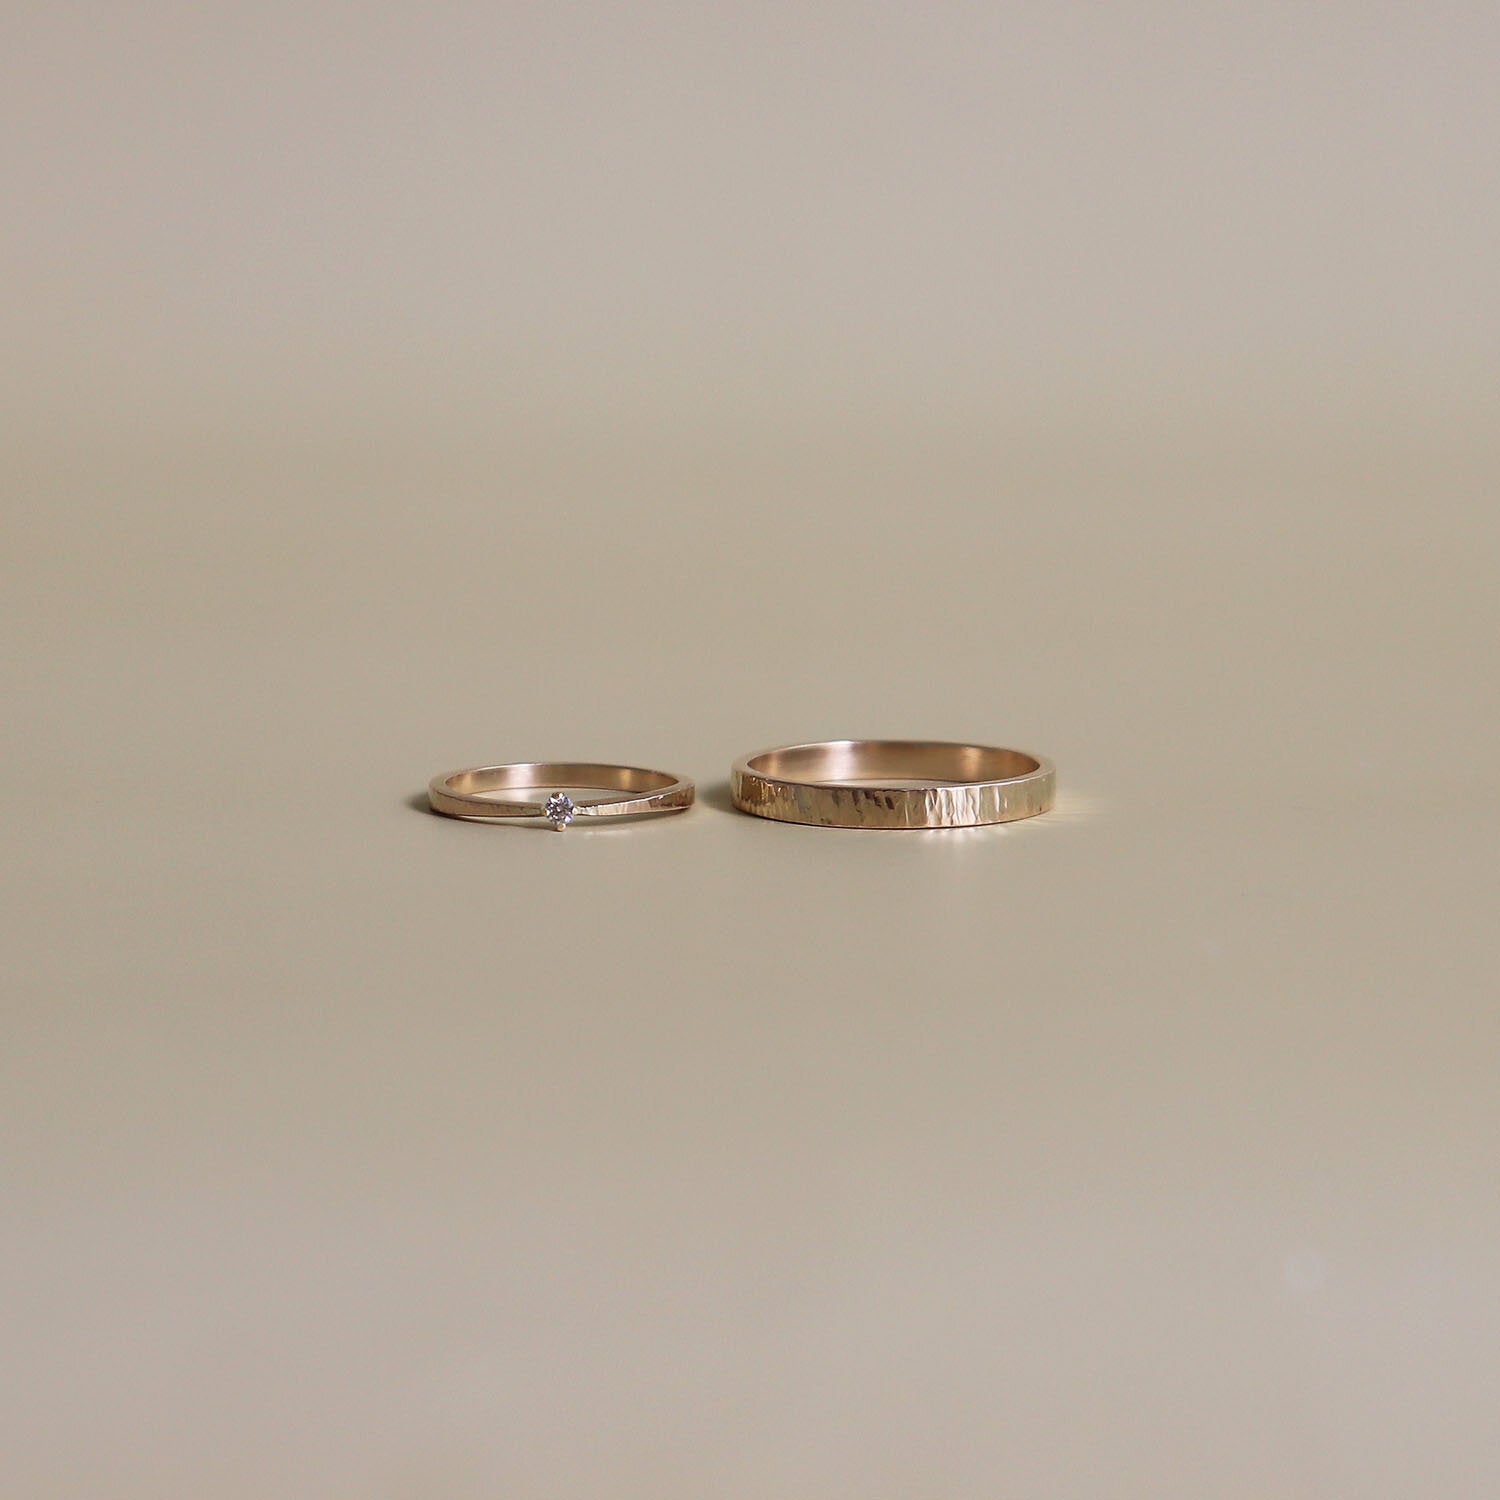
Thanks so much for reading. We hope you enjoy these behind-the-scenes process as much as we enjoyed making your jewelry.
We love custom designs and working with you to create unique pieces just for you.Please feel free to contact us with your ideas, we’d love to hear from you.
In the story
-
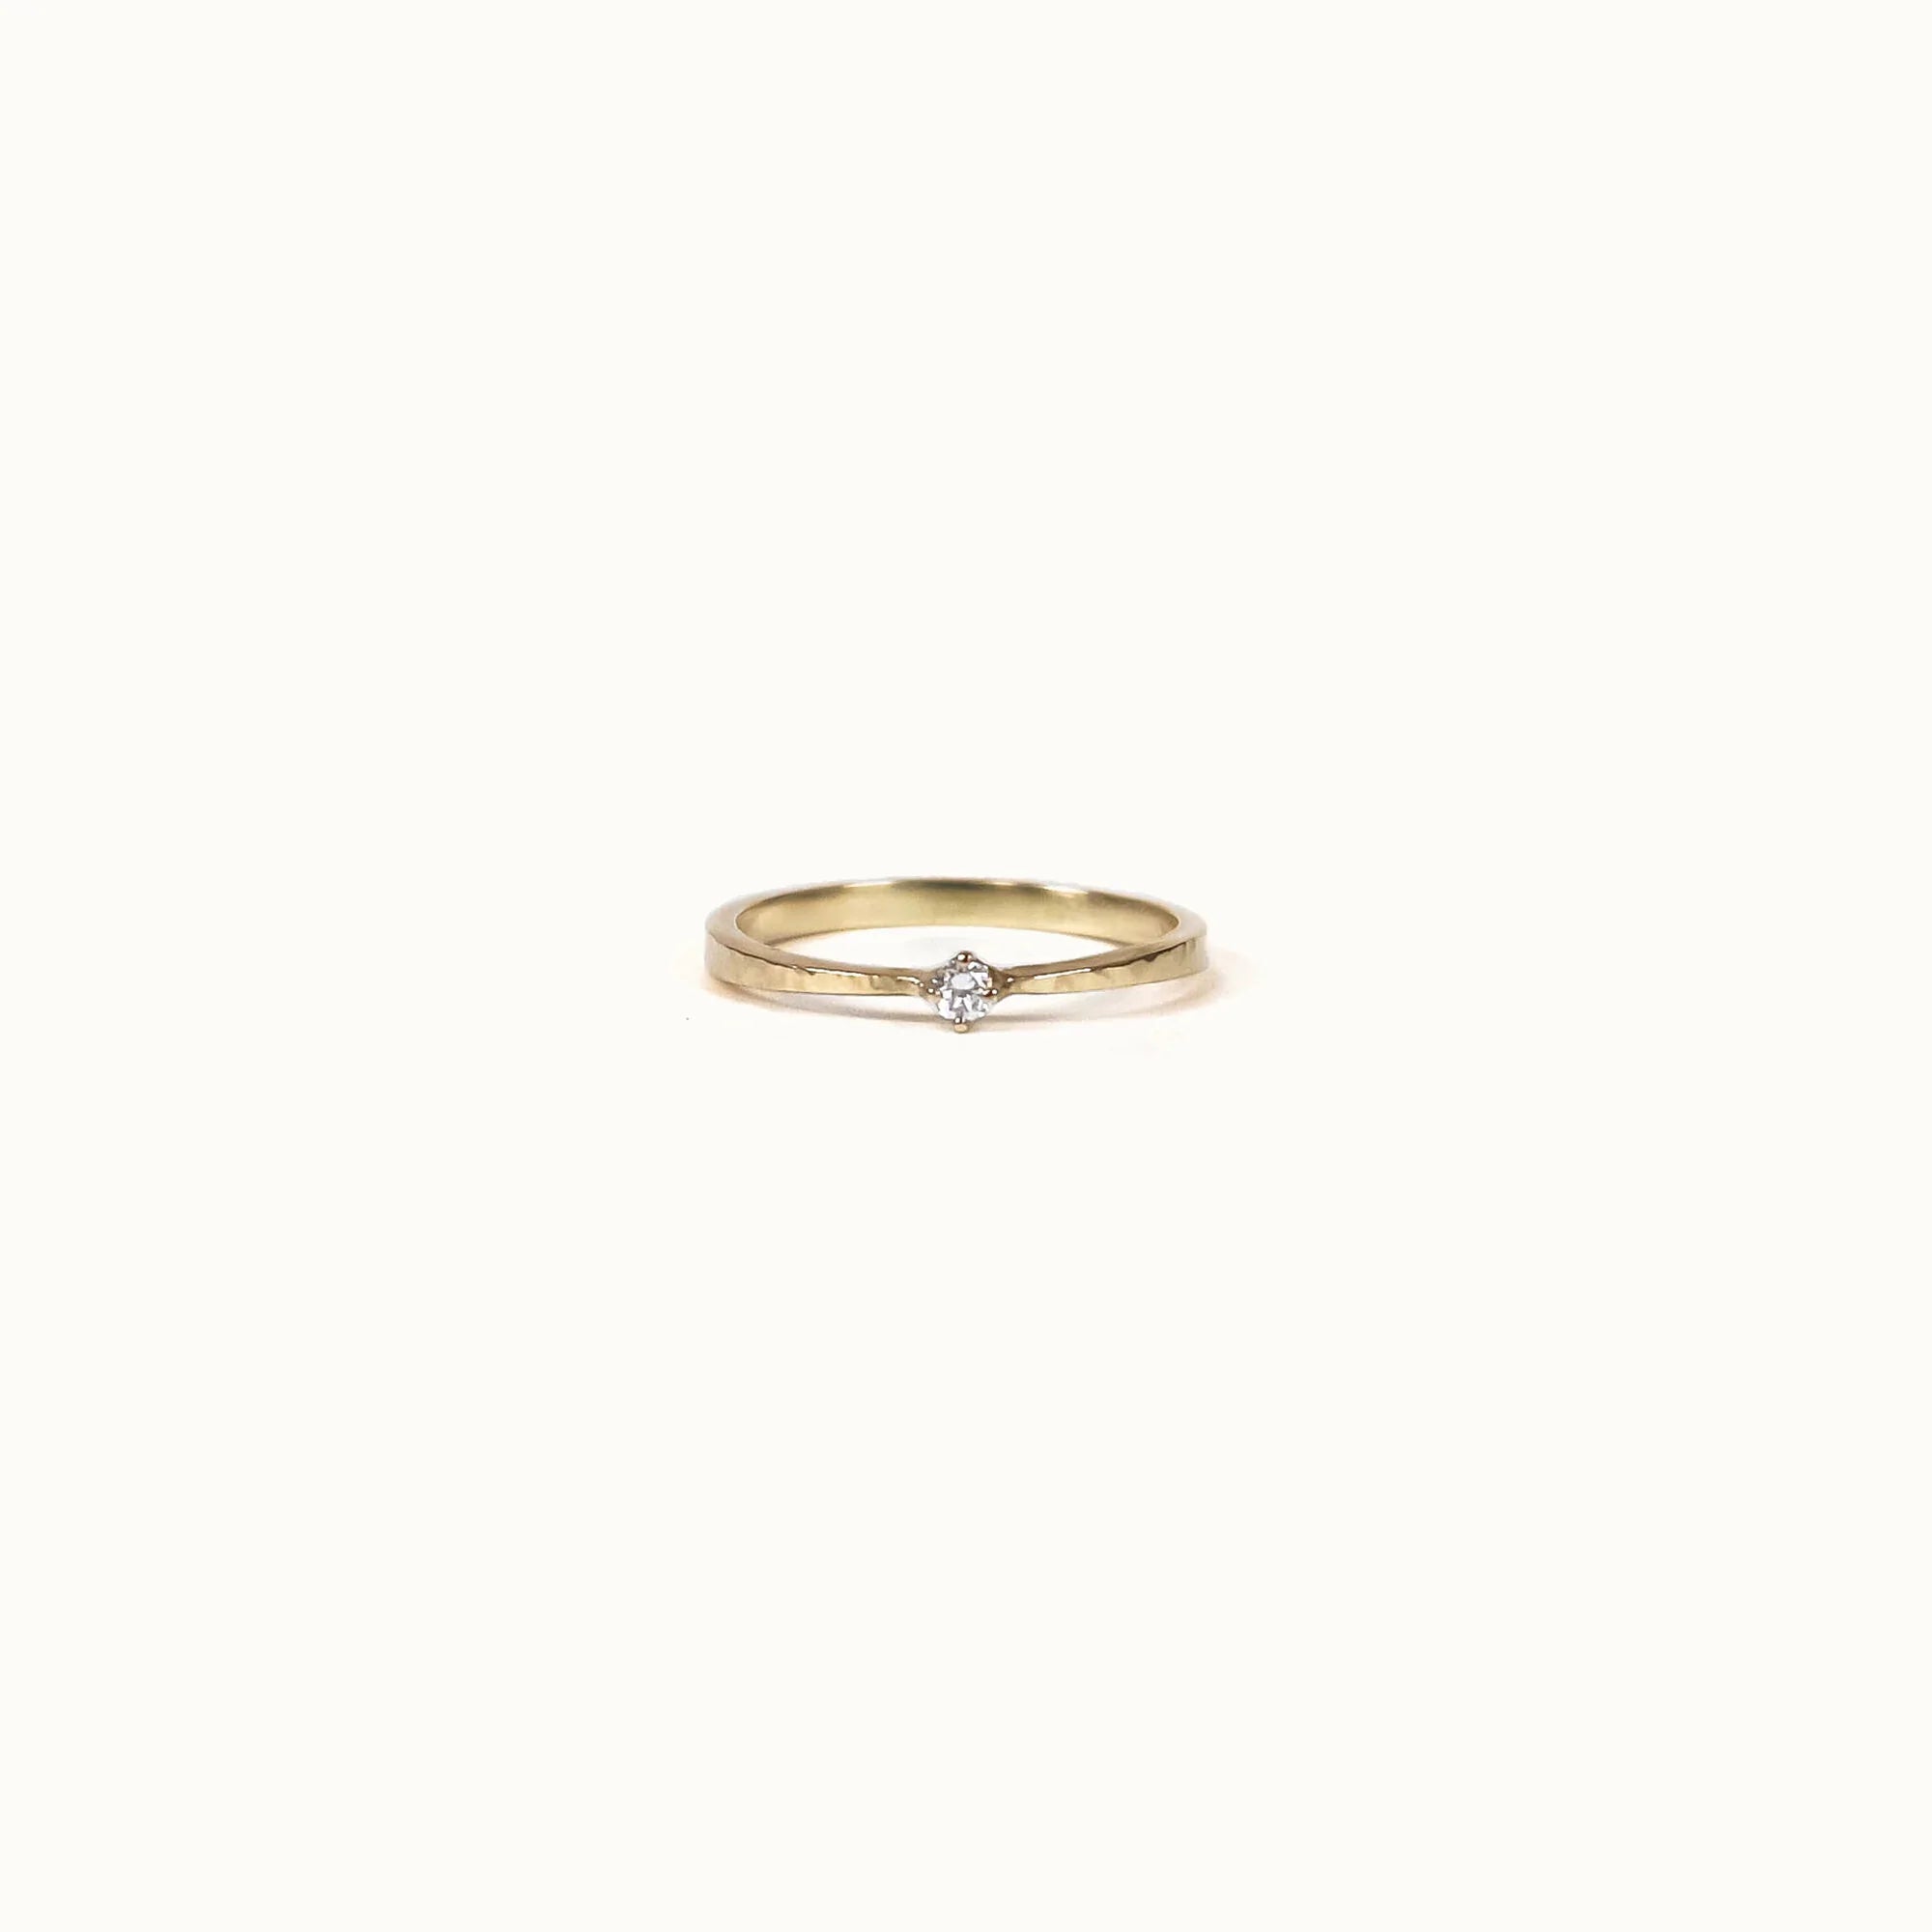
Claire - Baby Diamond Ring
Learn moreBaby diamond solitaire ring on a textured 14k yellow gold band. Sleek, delicate beauty.
-
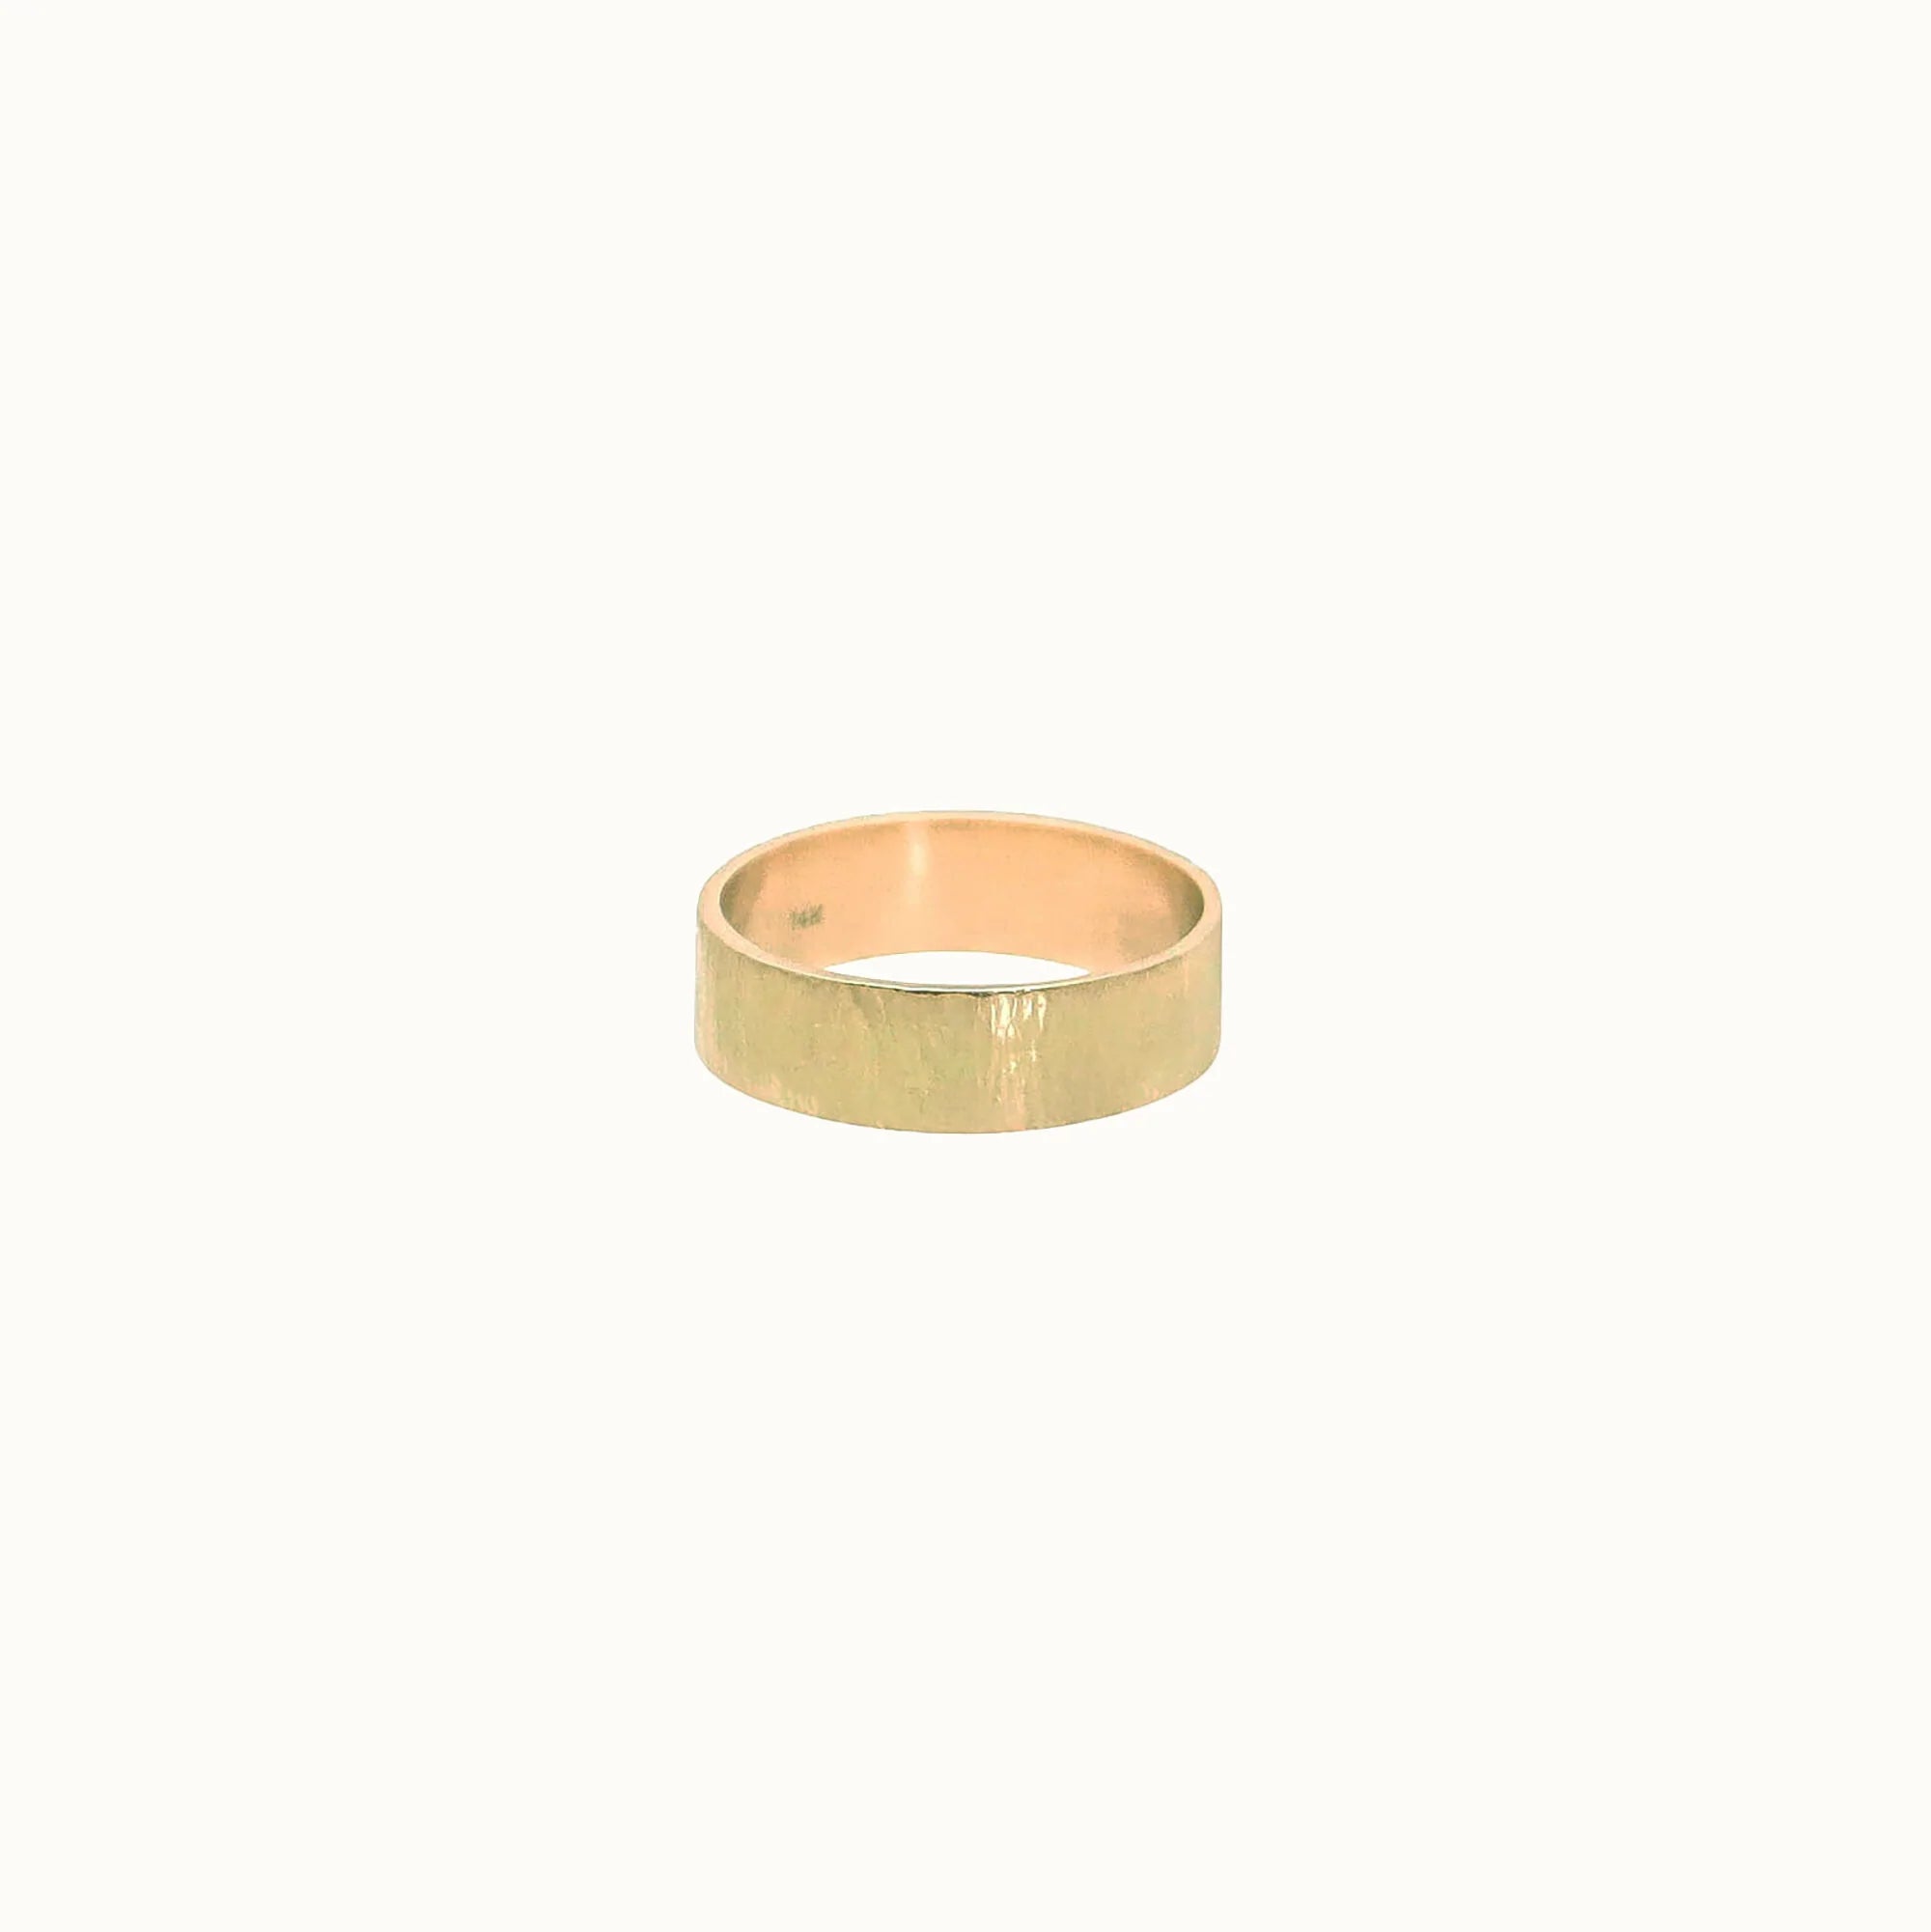
Bark Textured Band 6mm
Learn moreClassic and subtle with bark textured band. Handcrafted and hammered in our studio.

